Whether you're clearing an entire property or just a few rooms, a little preparation goes a long way. Knowing what to do before the clearance team arrives helps the day run smoothly, protects anything you want to keep, and can even reduce the overall cost. Here's a practical checklist to follow.
Why Preparation Matters
A house clearance team will remove everything you ask them to. But if you haven't sorted through your belongings beforehand, there's a risk of losing something important, or paying to clear items you could have sold, donated, or kept.
Taking an hour or two to walk through the property before the clearance means fewer surprises and a faster job on the day.
The House Clearance Preparation Checklist
1. Walk Through Every Room
Start with a full walkthrough of the property. Open every cupboard, check every drawer, and look in less obvious places: the loft, under beds, behind furniture, inside coat pockets, and at the back of shelves. People often find forgotten valuables, cash, or important documents tucked away in unexpected spots.
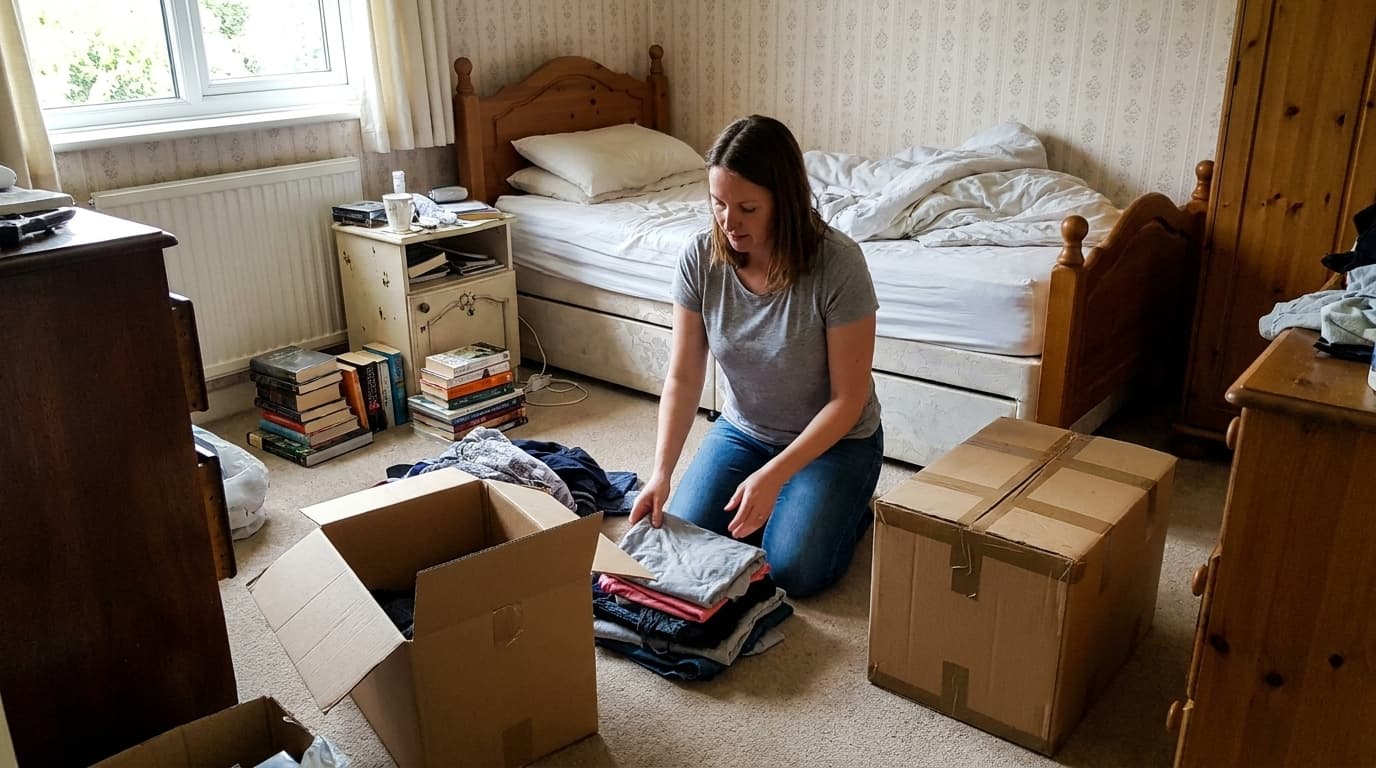
2. Separate Items You Want to Keep
Before anything is removed, set aside anything with sentimental or financial value. This includes:
- Family photos and personal keepsakes
- Jewellery, watches, and small valuables
- Important documents (passports, deeds, financial records)
- Heirlooms or antiques
- Anything you're not sure about (keep it and decide later)
Move these items to a single room or take them off-site before the clearance begins. If you're clearing a loved one's home, our probate clearance guide has more advice on handling personal items sensitively.
3. Decide What to Sell or Donate
Some items may be worth selling or giving to charity before the clearance. Furniture in good condition, working appliances, and clothing can often find a new home. Consider:
- Local charity shops for clothing, books, and small items
- Online marketplaces for furniture and electronics
- Community groups for items people in your area might need
Be realistic about timing. If you have weeks before the clearance, selling makes sense. If the clearance is soon, it may be easier to let the clearance team handle everything and focus your energy elsewhere.
4. Make a Note of Large or Awkward Items
When you book your clearance, it helps to mention anything unusually large or heavy. Pianos, safes, gym equipment, or oversized furniture may need additional handling. Letting the team know in advance means they can come prepared with the right equipment and enough people.
5. Check Access to the Property
Think about how the clearance team will get in and out. A few things to consider:
- Parking: Is there space for a van close to the property? If not, are there loading restrictions to be aware of?
- Keys and access: If you won't be present, how will the team get in? Most clearance companies are happy to collect keys or use a key safe.
- Stairs and narrow spaces: Upper-floor flats, tight hallways, or spiral staircases are worth mentioning so the team can plan accordingly.
6. Disconnect Appliances
If appliances like washing machines, dishwashers, or cookers are being cleared, disconnect them beforehand where possible. Turn off the water supply to washing machines and dishwashers, and isolate gas cookers. If you're not comfortable doing this, let the clearance team know and they can handle it on the day.
7. Secure the Property
If the property will be empty after the clearance, think about security. Make sure windows and doors lock properly, set timers on lights if needed, and notify your insurance provider that the property will be unoccupied.
What You Don't Need to Do
Preparation is helpful, but don't feel you need to do everything yourself. You don't need to:
- Sort or bag everything up. The clearance team will handle all the sorting, lifting, and loading.
- Disassemble furniture. Beds, wardrobes, and desks can be taken as they are.
- Clean the property. Clearance removes items, it doesn't include cleaning. You can arrange a separate clean afterwards if needed.
- Be present on the day. You're welcome to be there, but it's not required. Many customers hand over the keys and let the team get on with it.
How Preparation Can Reduce Costs
House clearance is typically priced by volume. The less there is to clear, the less you pay. If you can remove some items yourself beforehand, whether by selling, donating, or taking to the tip, it reduces the volume and can bring the cost down.
For a full breakdown of how pricing works, see our guide to house clearance costs.
On the Day
Once you've done your preparation, the clearance itself is straightforward. Our team arrives at the agreed time, confirms what needs clearing, and gets to work. Everything is loaded, transported, and handled responsibly. Most clearances are completed the same day.
Whether you need a full house clearance, a garage cleared out, or just a few rooms done, a little preparation makes the whole process smoother for everyone. Wondering where everything goes afterwards? Our guide on what happens to your items after a clearance explains the full process.